Wondering if I have the time, I tentatively registered for the TextileArtist.org Stitch Club. I started late but I have come to terms with being behind and will do the exercises when I feel in the mood ... my new formula is:
(collection of ideas + good mood + time opportunity) - (hesitation + self doubts) = happy project
So this weekend, it was time to tackle the first workshop by artist, Debbie Lyddon. No problem with "ideas" This is what Debbie says.....
" I walk, look and listen, I pick up an object and put it in my pocket. I make a container for it and place it ... in a place where I gather interesting objects together. I make connections and I tell stories....
This workshop is drawn from my love of walking, collecting, being curious , telling stories and making.... The challenge is to make three hand-stitched containers for a collection of three objects, natural or man made..." from Stitch Club workbook
I painted cloth as suggested by Debbie - watered down acrylic paint. . Then, I thought as I wanted to make tiny containers for small pieces of sea glass that the cloth should be reminiscent of the ocean. Previously I have created art cloth which I called "Coastal Dreams" so I decided to reproduce this . There is such comfort in doing something familiar as a start to trying something new - a happy memory exercise.
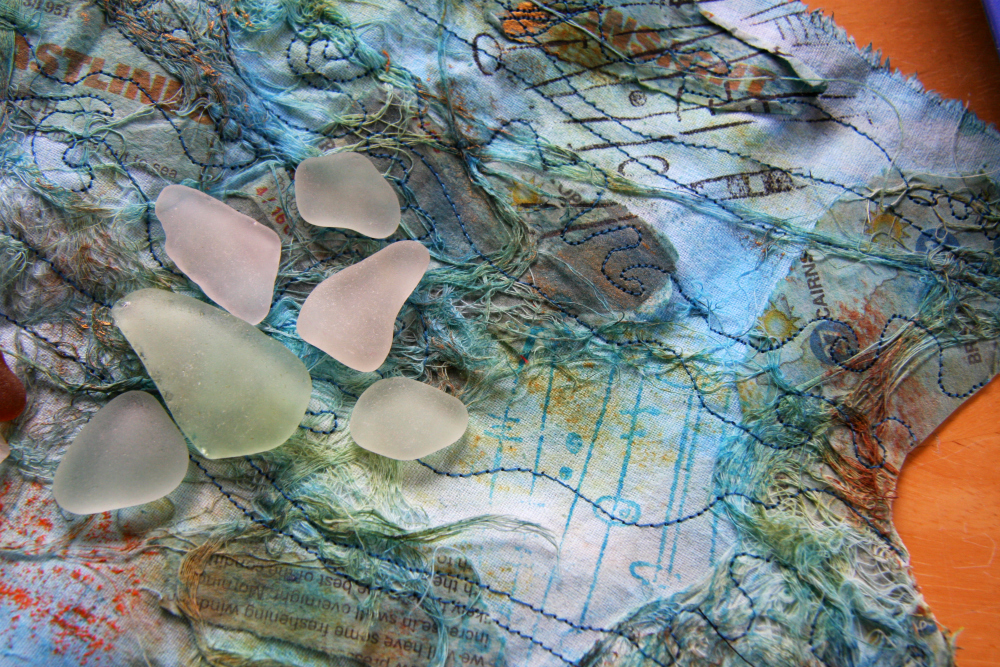
This art cloth is like a sea shanty itself. It rollicks along with space and time for improvisation. Torn up bits of newspaper, threads and scraps of cheese cloth were applied with watered down paint mixed with gel medium. I then free motion machine stitched over the whole cloth when dry, with the main purpose of making sure all the added bits were secured. Randomly, I stamped some patterns with rubber stamps and acrylic paint and highlighted areas with metallic rubs and wax crayons.Previously, I have used art cloth created like this for sculptural pieces ( samples pictured below) , so I was confident that this art cloth made stiffer with paint and embellishments would be really suitable for "containers "


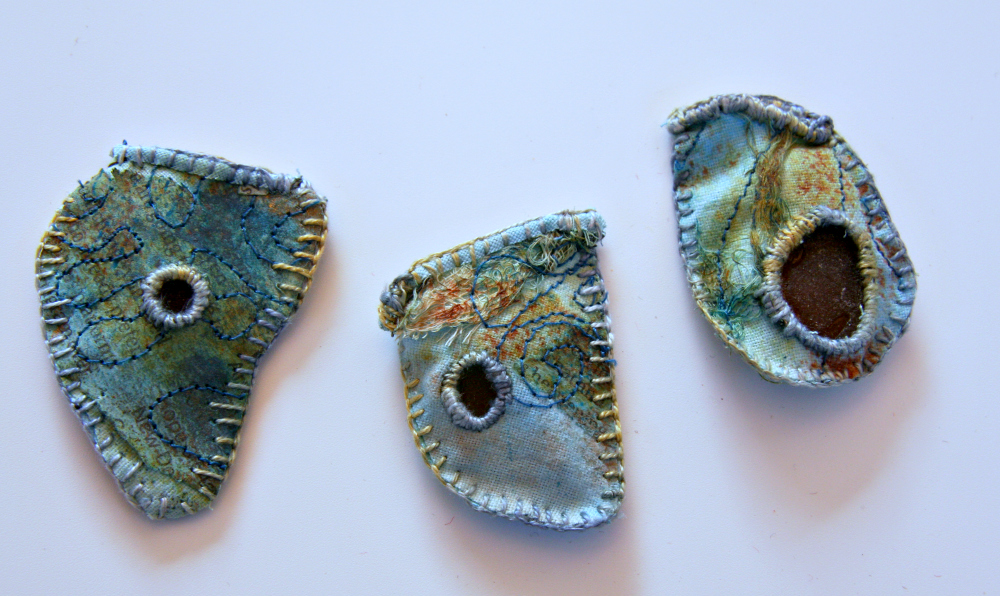
With such beautiful thread in a shade called "Sandy Bay " all my materials were aligned with the theme. I chose three pieces of the brown glass to work with, and traced their shapes roughly to make templates for containers. Following Debbie's instructions, making grommets from wire for " peep holes" and hand stitching, I worked with rhythms of the ocean and before long, a series of containers with enticing glimpses of what they contain. While these containers brown glass, I also made the happy discovery that other coloured pieces also fit.

What next with these - Shall I keep them as Debbie does in a place where special pieces gather to tell stories? Shall I add a cord to make a pendant? Or a pin to make a brooch? Will they be ad addition to one of my dolls ? ... or shall I just make some more?
Comments
Post a Comment
Thanks for reading my blog and please share your thoughts about my blog post by leaving a comment.Your comment won't appear immediately as comments are verified before publication in an effort to reduce the amount of spam appearing. Anonymous comments will not be published.