
How does your garden grow with crayons?


How does your garden grow with crayons? With a little bit of imagination and lots of stitches! 
Why does your garden grow with crayons? Because that was the challenge of the monthly assignment of my creative embroidery course.  It was a surprise to open my package and discover a packet of twelve coloured crayons, some white cotton fabric and lots of coloured stranded embroidery cotton. The task was to create a stitched garden, after colouring the fabric with crayons. I have always loved the impressionist Monet gardens, so I approached this task happily.... until I realised how long it takes to fill a space with stitches!

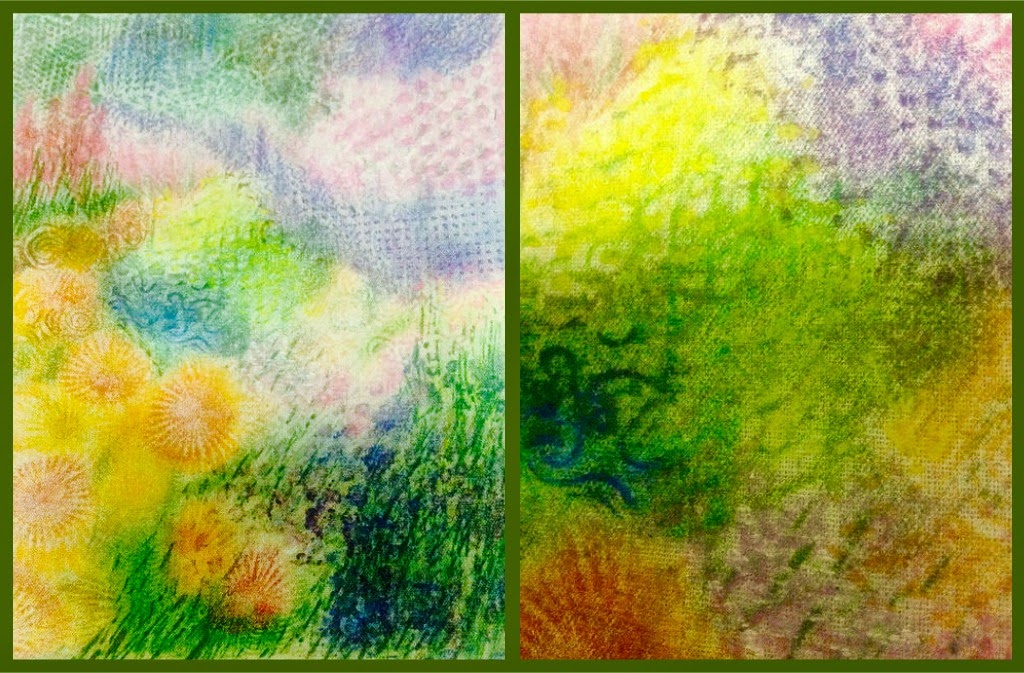
Crayon applied to cotton fabric with texture ( rubber stamp under the fabric)
- Empress Wu Designs 2015 
Stitching the "distant" spaces first
- French knots, Lazy Daisy stitch, fly stitch, straight stitch.
Empress Wu  Designs 2015 
Detail  1 - Crayon Garden - Empress Wu Designs 2015
(French knots, fly stitch, straight stitch, lazy daisy stitch) 
Detail  2 - Crayon Garden - Empress Wu Designs 2015
(French knots and straight stitch) 
Detail  3 - Crayon Garden - Empress Wu Designs 2015
( woven roses, straight stitch, Cretan stitch, double knot stitch, lazy daisy stitch) 
 Detail  4 - Crayon Garden - Empress Wu Designs 2015
(Cretan stitch) 
Detail  5- Crayon Garden - Empress Wu Designs 2015
Crayon Garden - Wilma Simmons, Empress Wu Designs, 2015 


Comments

Popular posts from this blog

#the100dayproject : Inspiring Women Days 1 - 4

#The100DayProject is a *free* global art project that takes place online 🎨 E very year, thousands of people all around the world commit to 100 days of creating. Anyone can participate . ​The idea is simple: choose a creative project, do it every single day for 100 days, and document and share the process online. 2026 is my 8th year of participating. I have stitched daily observations, painted my egg cup collection, collaged postcards and envelopes, written poems, explored colour palettes .... this year I am researching, sketching and stitching 100 inspiring women. Fortunately I purchased a piece of beautiful linen, with preprinted outlines of 100 women ... just one issue - the figures are tiny (height 6cm /2.5 ins) My first week started tentatively ... I thought I would start with Empress Wu, after whom I named my creative activity. This is when I discovered how difficult it is to applique and stitch on these very small figures - I used tweezers to put pieces of fabric down, tried t...

Fish and Sticks : Art Dolls

This week I've been working on fish and sticks ....  The sticks are the message stick art dolls which were very popular, attracting some attention and a few orders at the Wise Women exhibition. Each of the message stick dolls are from the Wise Women series, each with her own personality and  message of wisdom, handwritten on a handmade timber tag. I gather the sticks during my walks around my neighbourhood and the tags are made from special bits of timber, some collected by me or  my husband or from off cuts gifted to us  from another doll making friend whose husband makes bagpipes. These dolls start off very simply with a wrap around a stick, in the general shape of a body. 'Naked" message stick dolls - strips of wadding wrapped around found sticks.   Then I usually wrap other layers of fabric, wool, and/or fibres, over which I do some simple embroidery. I sculpt  or mould small face masks for these dolls. I really like using "sari ribbon" as w...

Wednesday's Child /2

Work in Progress - 3 of the 193 for "Stitched Up"- Wilma Simmons   The work for the "Stitched Up " Project  continues. See the previous "Wednesday Child" post for the background to this art project celebrating the 150th anniversary of the Newcastle Industrial School. I have been documenting the progress of my work, so I thought it might be interesting to share some of the early stages of the "stick dolls" ... Here are some of the beginning steps.. Sticks collected while walking the bushland in my neighbourhood  Drying and getting rid of any insects - oven heat 75 degreesC for approx 1-2 hours.  Trimmed and cut if necessary  Ends sealed with matte sealing solution.  Drying  - solution goes on white but dries clear.  First wrapping - foil to create a body shape  Second wrapping - stretch fabric.  Third wrapping - fabric strips  Some stitching - more stitching and embellishment to ...