Every year, thousands of people all around the world commit to 100 days of creating at the same time. Anyone can participate . The idea is simple: choose a creative project, do it every single day for 100 days, and share your process on social media using the hashtag #The100DayProject, connecting with other participants and followers of the project.
This year #the100dayproject started on 13 February and finishes on 24 May , if you count consecutive days. Some participants take up to 2 years to complete 100 days of creating!
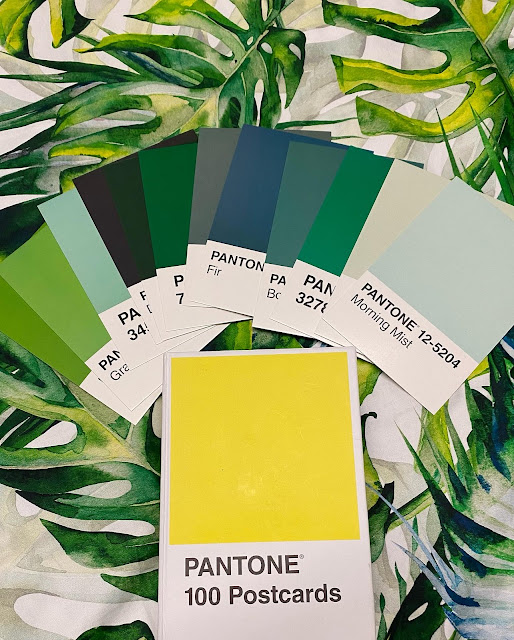
 The first step is usually to decide on a personal project ... this year, I decided to do something simple and late last year, I purchased a box of 100 pantone colour postcards.
As I am also preparing a much bigger project, based on the "exuberance" of colour, I thought this would be a great way to move gently into the project and practise working with various colour combinations.

What I learnt from previous years of participating in this project is that whatever the project is it needs to be manageable and an easy fit into your lifestyle. This year, I have really simplified and fine tuned my approaches to the project - it has to be a process which
- uses materials which are easily accessible, recycled or found :
- does not take up too much space or time, ( ideally 15-30minutes on a small table)
- needs no financial layout ( only the cost of the postcards - no further purchases )
- results in small artworks which can be used/gifted ( in this case posted to friends)
- will help to develop techniques and skills.
My project #100pantonepostcards2022 is exploring colour through collage and stitch.

Every day, the base is already prepared and I collage small scraps of paper and/or fabric (stitched or not) . I use a simple glue stick and sometimes, some matte medium as my adhesives. My "away from home" kit comprises a small glue stick, a small envelope of fabric and paper scraps, a few postage stamps, a needle and black, white and red thread, scissors, a black felt tipped pen and however many of the postcards I need. What I don't have in my small travel kit, I usually gather wherever I am. For the first 13 days this year, I improvised a lot as I was not at home. I used bits of brochure pages, the back of my airline folder, some chocolate wrappers, and tea bags - there were even a few coloured threads in the bottom of my bag!

I have often been asked WHY I do this or what do I gain from doing this project.
There really isn't a definitive answer to why I do this - I think I am the kind of personality who likes a challenge and likes working in series. I also know that I benefit greatly from regular practice and like to commit to a process of improving my skills ( in bursts, at least) .I also like the process of recording how I feel about the project in a journal , or as is obvious, in this blog. 

As I try to devote 20-30 minutes to a daily art practice , 100 days isn’t too much of a stretch depending on the ‘rules’ I set for myself . One year I combined stitching with walking - about 5k daily and another I wrote a haiku to go with each little pin/brooch . I enjoy the discipline, the accountability, and the opportunity to experiment and practise .
The bonus is the sense of community - about 8000 worldwide making and sharing art for 100 days together . This year these Pantone samples are perfect preparation for a bigger artwork … and I will have arty postcards to send to friends at the end of it - bonus ! I think I said to a friend yesterday, if I get 10 good postcards out of 100 , I'll be happy .
In #the100day project nothing is mandatory- you set your own parameters so I guess all participants ( now over 13,000 in the FB group) each gain something different but share the common sense of creativity, achievement and commitment.
Comments
Post a Comment
Thanks for reading my blog and please share your thoughts about my blog post by leaving a comment.Your comment won't appear immediately as comments are verified before publication in an effort to reduce the amount of spam appearing. Anonymous comments will not be published.