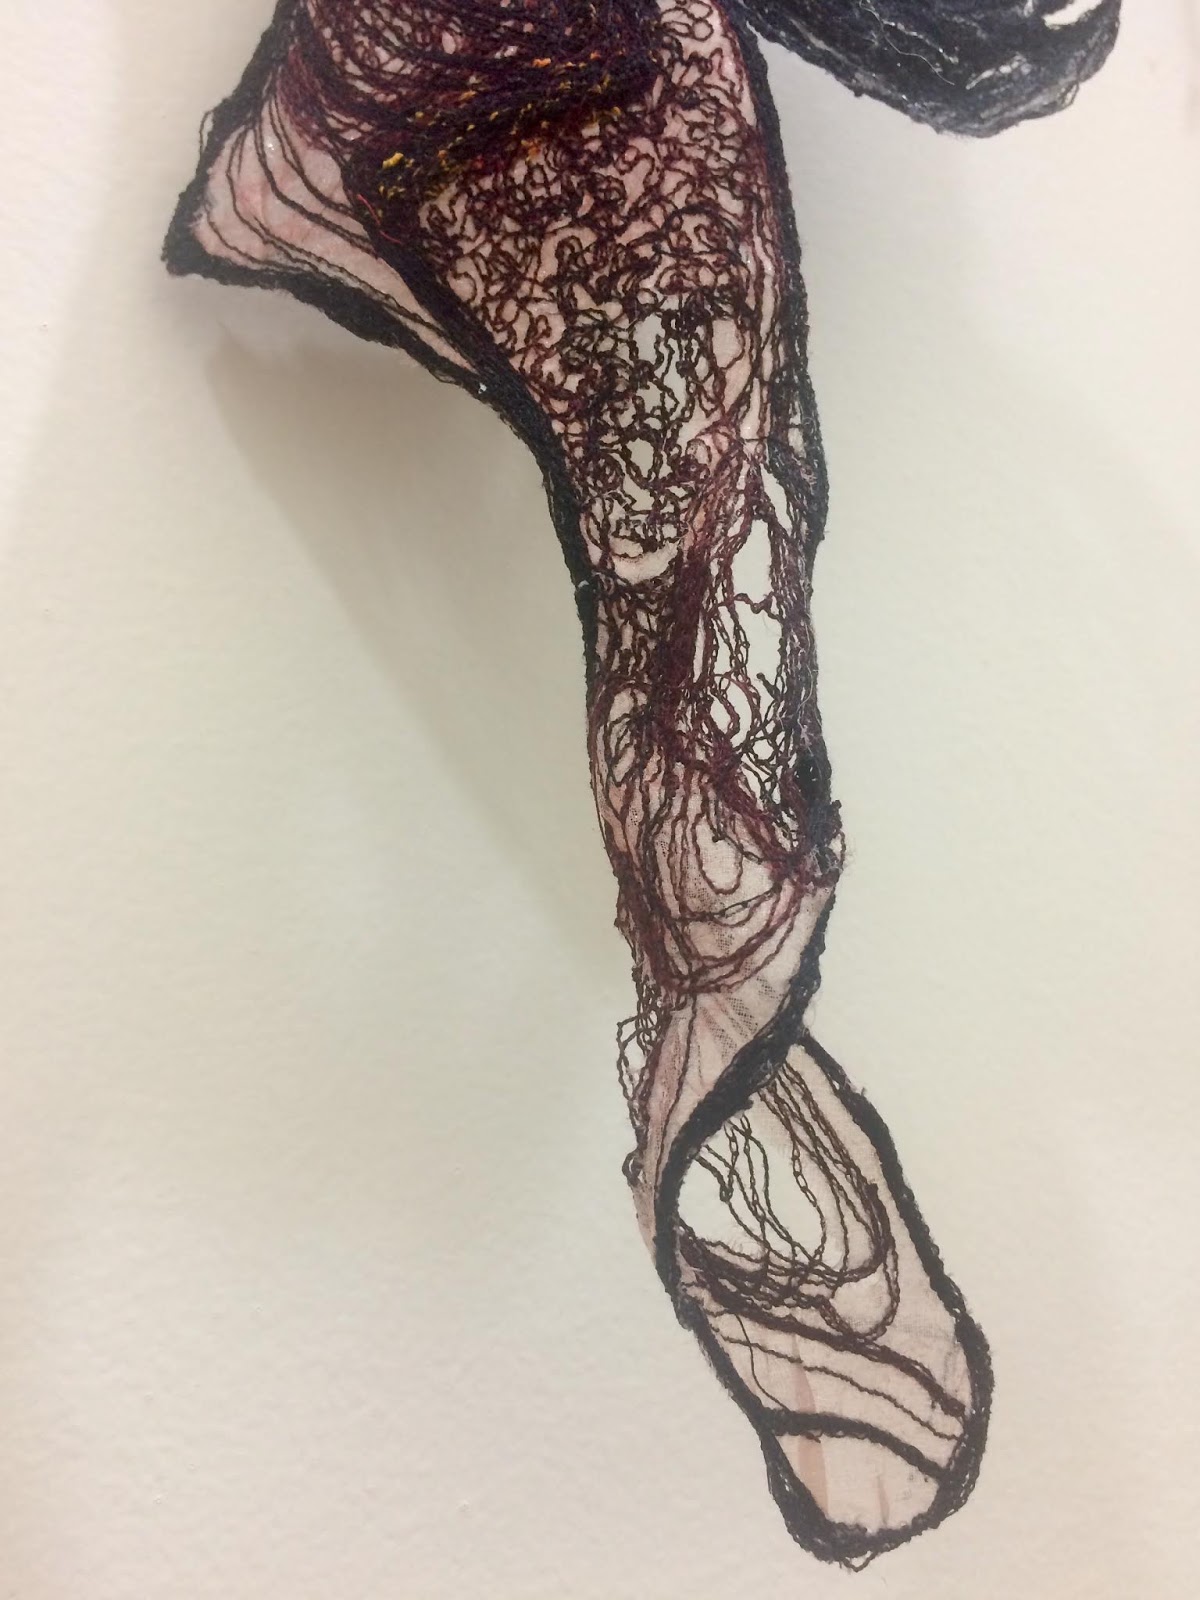
Making black holes for "Cosmic Dreaming"


As fascinating as the subject of "black holes" is, it was never my intention to create this piece true to its astronomical details so I have called this art work 'Black Holes'- an abstraction of the phenomena of a stellar collapse. 

( A stellar black hole (or stellar-mass black hole) is a black hole formed by the gravitational collapse of a star. . from Wikipedia) 

 This art work started with mark making on various pieces of paper with ink, paint, and stitch.  


I collaged those bits of paper together and then digitally transferred the drawing on to silk and free machine stitched the silk collage using dissolvable fabric and overlays of tulle, lace and sequinned fabric.  Some hand stitching was also done to add a bit more texture of the piece as well as trapunto quilting in some parts. 


I always had the dilemma of whether to hang this piece vertically or horizontally? Some days I like it hanging with the tail downwards, but then I also liked the sense of movement sideways.... 

After much advice from other artist friends, anyone visiting our house, and beleaguered family members, horizontal it became.... and with the paper version set behind it! That was not the original plan  but somehow it gives the work more substance and the additional layer suggests the shadow of other processes happening in the course of the stellar collapse. Anyway this is how it  was  displayed in the exhibition, "Cosmic Dreaming" in December-January at Timeless Textiles, Newcastle NSW . 
 Currently for sale  on Etsy

Comments

Popular posts from this blog

Wednesday's Child /2

Work in Progress - 3 of the 193 for "Stitched Up"- Wilma Simmons   The work for the "Stitched Up " Project  continues. See the previous "Wednesday Child" post for the background to this art project celebrating the 150th anniversary of the Newcastle Industrial School. I have been documenting the progress of my work, so I thought it might be interesting to share some of the early stages of the "stick dolls" ... Here are some of the beginning steps.. Sticks collected while walking the bushland in my neighbourhood  Drying and getting rid of any insects - oven heat 75 degreesC for approx 1-2 hours.  Trimmed and cut if necessary  Ends sealed with matte sealing solution.  Drying  - solution goes on white but dries clear.  First wrapping - foil to create a body shape  Second wrapping - stretch fabric.  Third wrapping - fabric strips  Some stitching - more stitching and embellishment to ...

Evolution of Message Stick Art Dolls

Message Stick Art Doll - stick, polymer clay, hand dyed & stencilled fabric with embroidery  My    message stick art dolls    have evolved over the last couple of years.  Why have I called these art dolls “Message Sticks” ?    I wanted to recreate a doll which was based on traditional techniques, so I have used ideas from a few different cultures. Many traditional dolls were made from wood - often wrapped with fibres.   In Egypt, several types of paddle dolls have been discovered in tombs in Egypt. The dolls are made of wood, flat, and constructed in a shape has led the form to be called a 'paddle doll'. The dolls seemingly follow a convention for the female figure, emphasizing the hips and hair. The wooden figures are usually painted with a geometric pattern of lines and dots. These patterns may reproduce tattos or ritual scaring in female Egyptian culture of the period or represent clothing or jewellery.  A fine exampl...

"Temari Or Not Temari?" Tutorial

 Background Information:  Temari (literally translated “hand ball”) is a Japanese folk craft that is alleged to have originated in China and was introduced to Japan five or six hundred years ago. Traditionally, the balls were constructed from wrapped kimono fabric remnants and silk threads. They were made by mothers and grandmothers for children to play with. Nowadays, decorative embroidered temari represent a highly valued and cherished gift symbolizing friendship and loyalty. Recently I've wondered if your don't use traditional techniques whether you should call what you create "temari". That is an ongoing debate but today I share what I do to make a "non-traditional temari".... 1.I start  with a polystrene ball ( traditionally the balls were wound  silk scraps or other organic materials) and begin to wrap with approx 4 ply wool, turning the ball as I wrap.  2. I then wrap another layer of wool in a similar fashion , this time a 3 or 2 ...